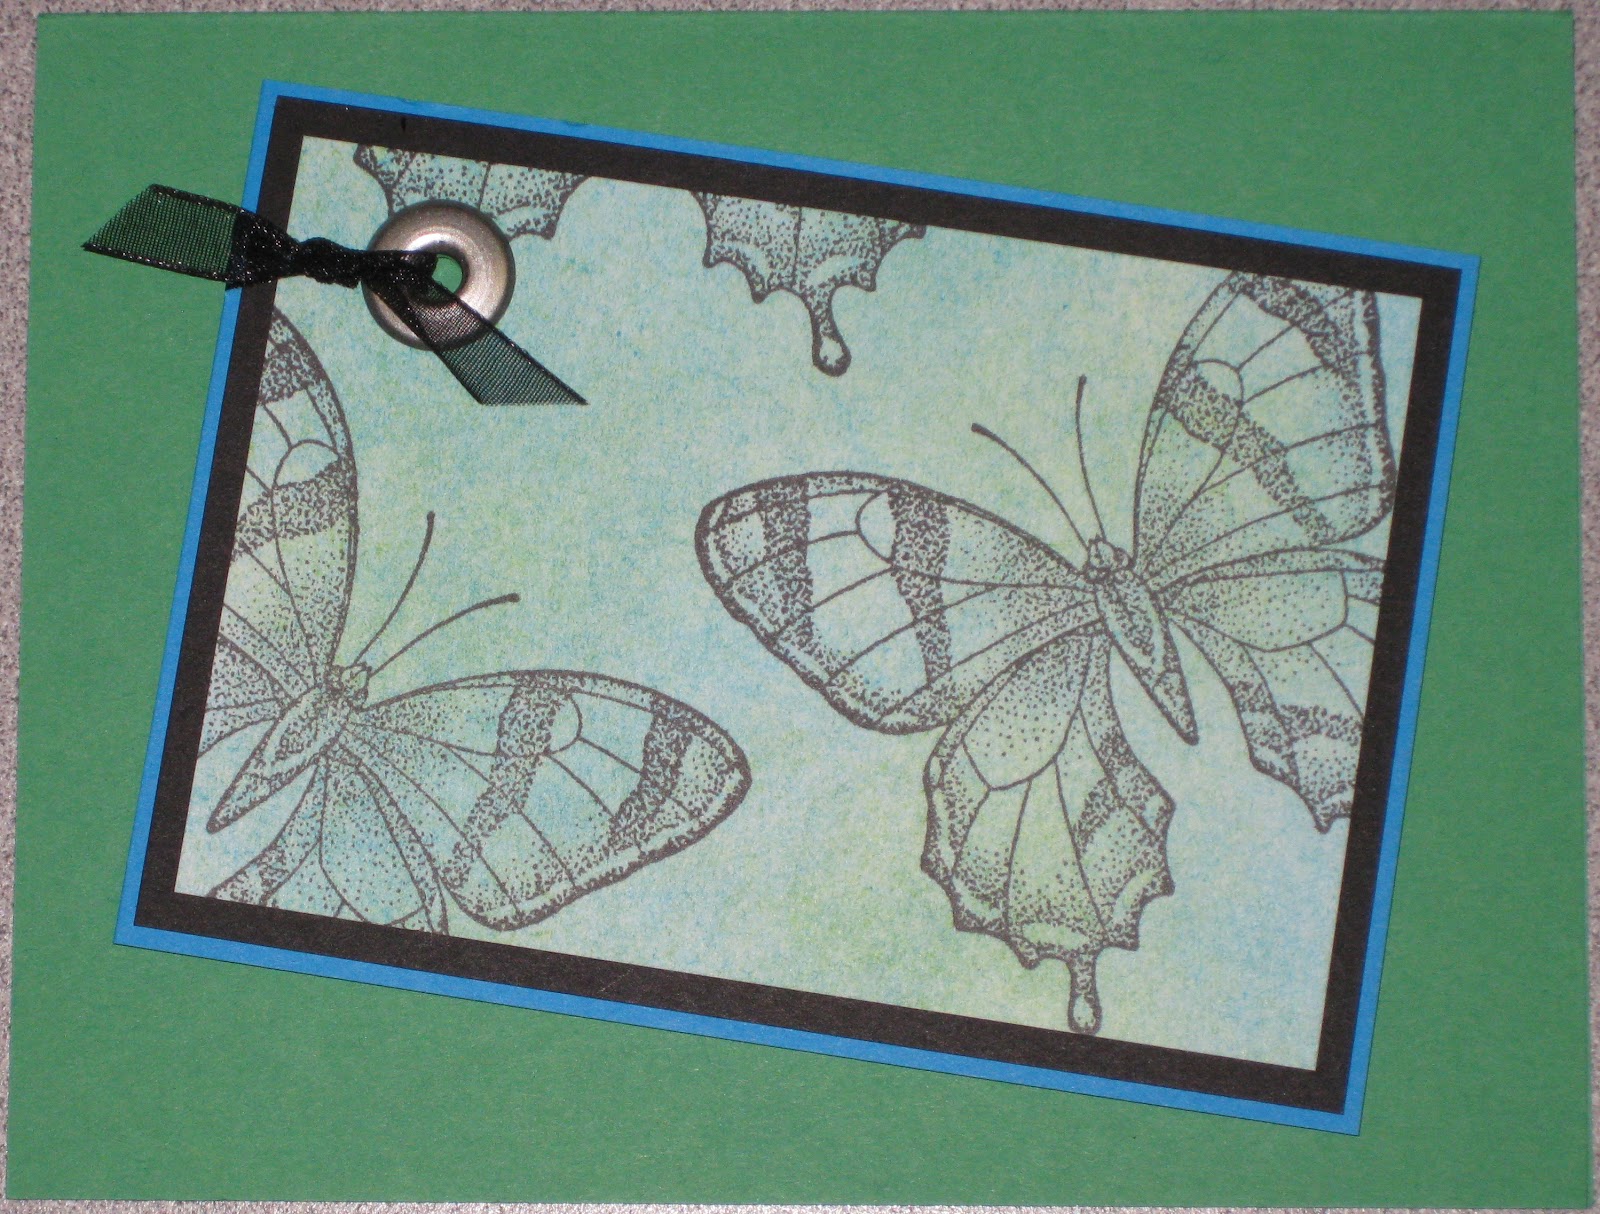
Today's cards are some of my favorites. I just love butterflies! The next two cards are very similar...the original was created for a swap. I made up too many parts, and they hung out in a clam-shell plastic container until now. Coupled with some adhesive, eyelets, pop dots, flower & ribbon. Ta-da...cards.
The next card is 90% of a card I created for about 7 classes I held in other's homes. It was a huge hit. It had been so many years, I missed adding the royal purple piece of cardstock behind the flower. Oh well, I like it anyway.
This little adorable penguin guy was attached to the patterned paper...applied to a project, removed and stuck to the inside of a plastic clam shell container for about 4 years. I found a piece of red cardstock already stamped with what could be snowflakes...apply two precut pieces of black cardstock...making it look like it goes across the whole card. Awww...I love it!
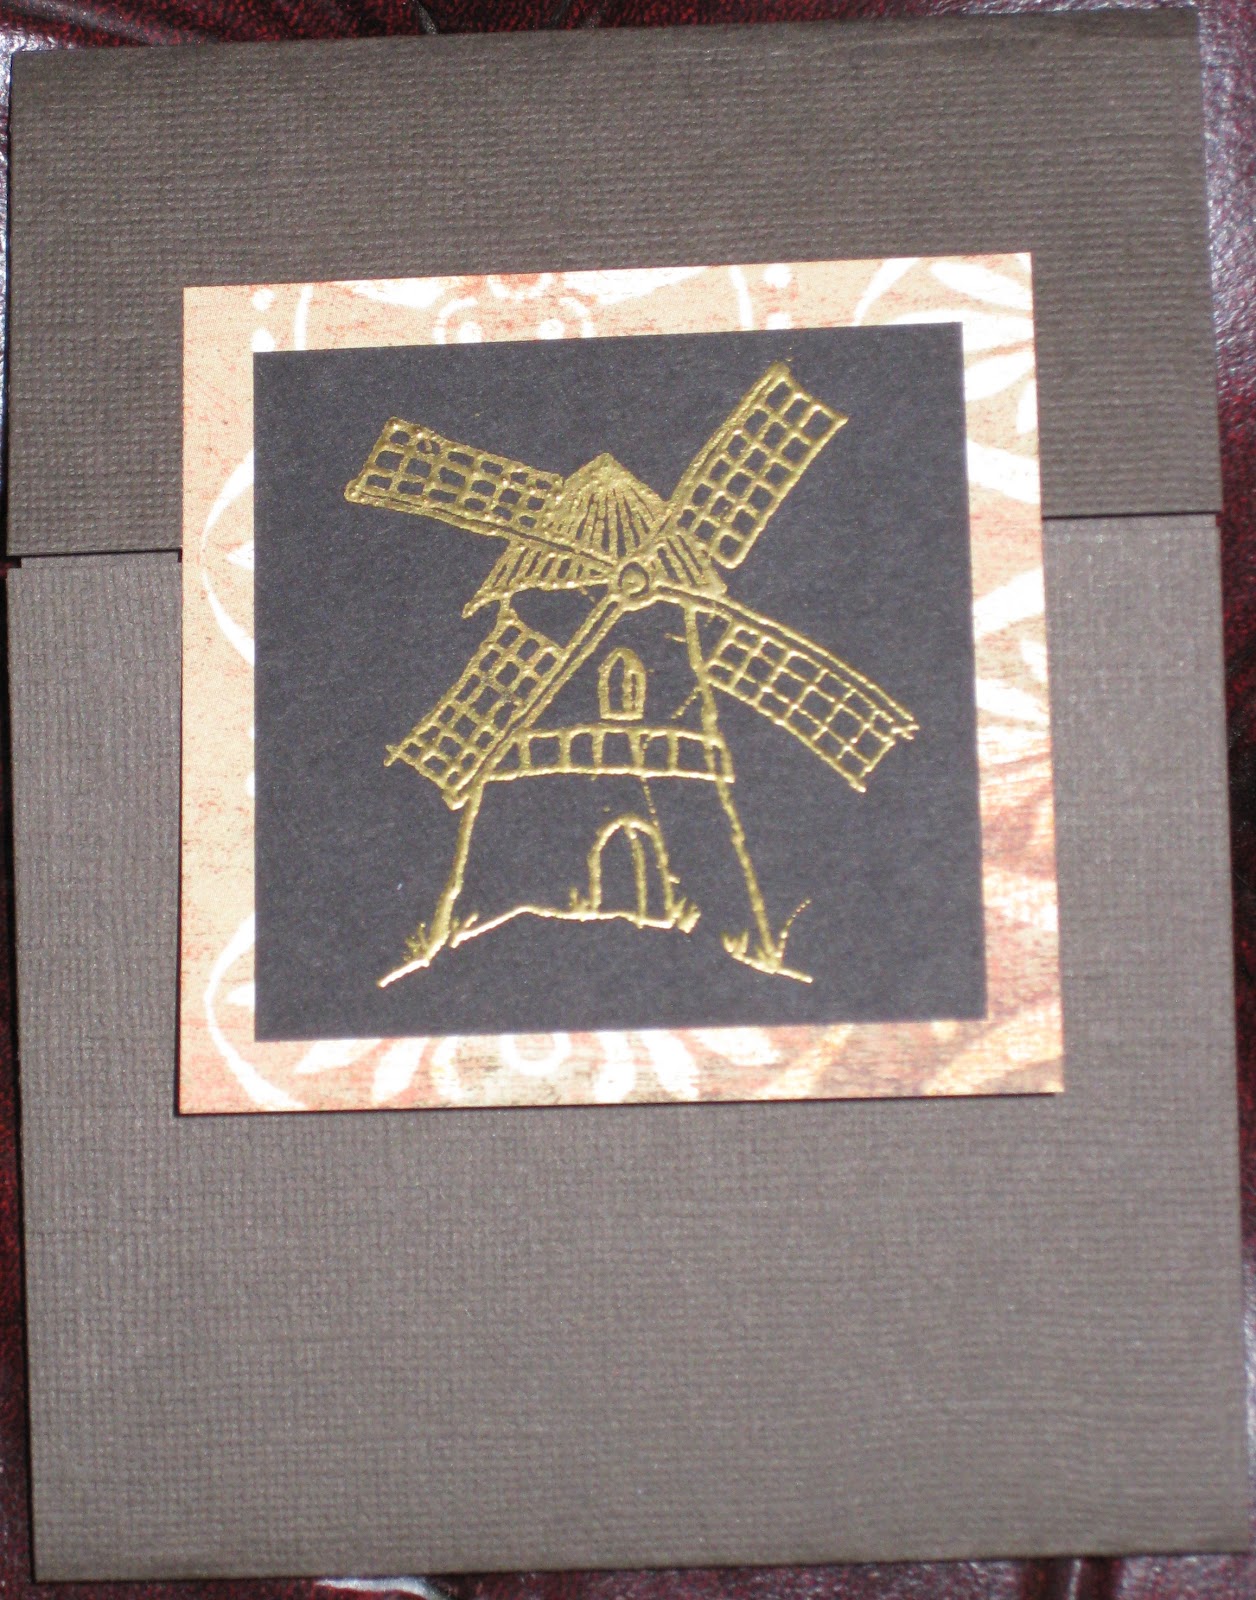
Sometimes reading every word of swap rules is very important. The small part of the next card was created for a "new stamps" swap. I was so excited, and stamped away...once done with the entire group of card fronts, I grabbed the paper for an address to mail them, and read the fine print. New stamps was accurate...BUT, they had to be from the catalog...not, from the current multi-month promotion. I was crushed!
To create the flower piece: I punched a circle from a post-it to mask the flowers. Then rolled over the rest of the piece with a brayer and Kaleidacolor ink. Removed post-it, and colored the flowers. I love how it turned out. I don't recall what the original card looked like, but when I find one (since they didn't get mailed), I'll share it with you.
I have enough cards for "Cards for Soldiers; Part 5"...coming next week.